 Skip to main content
Printer toner is the shining star of a sharp and vibrant print. It's not just powder in a cartridge; it's the magical dust that brings your documents to life. Toner consists of fine particles that are electrically charged to adhere to paper, creating the crisp text and vivid images that you love. As much as we use it, it disappears fast. So, when it's time to replace the toner on your printer, it's essential to ensure efficiency.
Today, we'll delve into a step-by-step guide on replacing toners in the Xerox PrimeLink C9065, presented by Matthew from The Printing Workshop. You can use these same steps for the Xerox PrimeLink C9070 as well as the Xerox Color C60/C70 printer models. If you have any hesitations on whether you can do it for yourself, worry not – Matthew's comprehensive instructions make the process appear as easy as a walk in the park.
Are you buying your own toner for these printer models and unsure which to purchase? Check out our blog on the 4 different types of printer toners & how to choose.
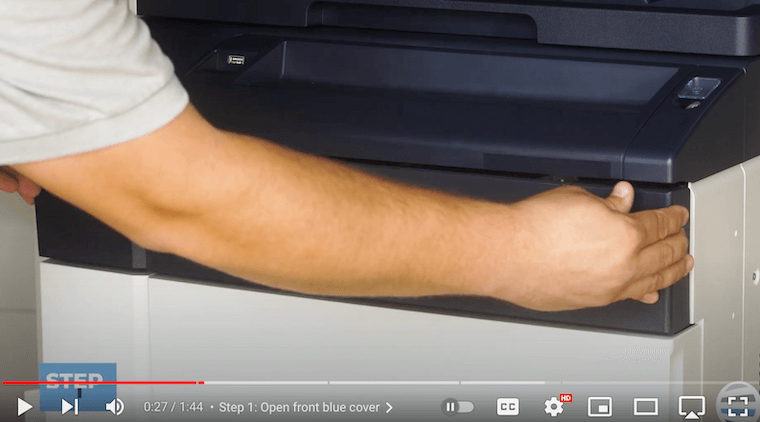
Step 1: Open the Front Blue Cover
The first step is to locate the front blue cover. This cover has handles on each side. Gently pull down on these handles to reveal the toner compartments.
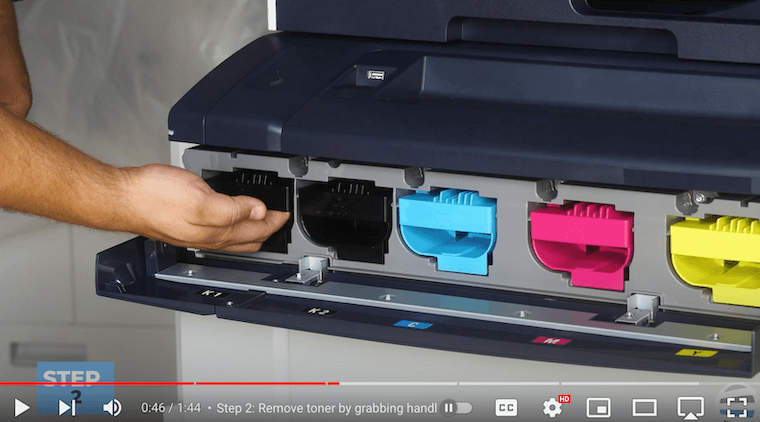
Step 2: Remove the Toner by Grabbing Handle
With the toner compartments exposed, the next task is to remove the old toner. Just grab the handle and pull the toner straight out. It's noteworthy that this model boasts two black toners, showcasing its capacity as a production-level machine.
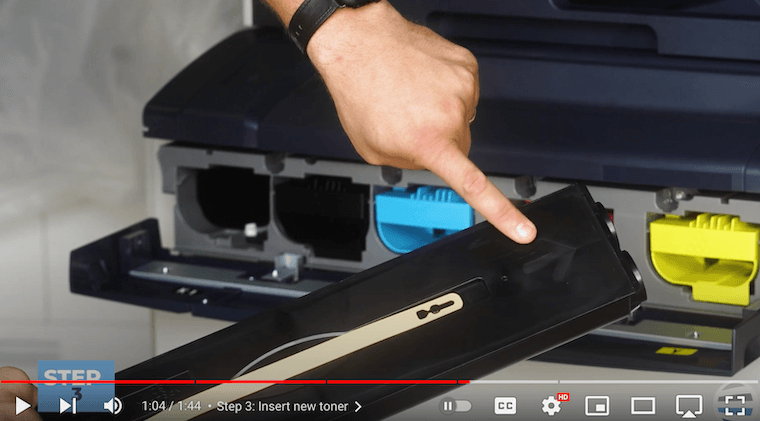
Step 3: Insert New Toner
After the old toner is out, unbox your fresh toner. The orange handle on top of the toner is an option, but you can also grab it from underneath. Follow the guides on the top and slide the toner into the gray cavity on the front until it clicks, ensuring a snug fit.
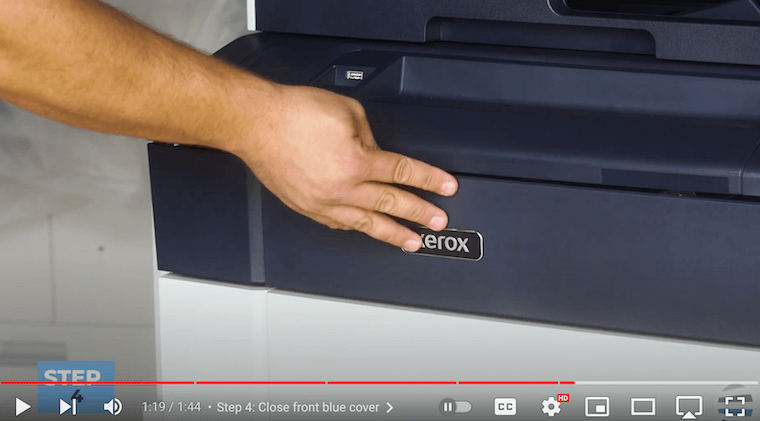
Step 4: Close Front Blue Cover
Now that the new toner is securely in place, it's time to close the front blue cover. Gently push it back up until it clicks into position, ensuring the cover is flush. Once closed, your Xerox PrimeLink C9065 is ready to roll, producing top-notch prints with the replaced toner.
Print with Precision: Your Guide to Xerox C9065 Toner Replacement
Changing toners on the Xerox PrimeLink C9065 may seem daunting, especially if you're new to the process. However, Matthew's walkthrough makes it clear that it's a straightforward operation with only a few steps.
Efficiency in printing is not just about the result; it's also about maintaining the machine. A high-quality and reliable toner allows you to produce top-notch images. But it’s also important to know how to replace that toner so that you can get back to your prints as soon as possible. With this guide, you can confidently perform toner replacements, ensuring that your Xerox PrimeLink C9065 operates at its peak efficiency. Whether you're a seasoned professional or a novice in the world of printing, these simple steps can save you time and keep your prints looking pristine.
If you’d like to know more about auto toner shipments, consider our blog on auto toner shipments.
Don’t Miss Out on Future Tips!
Remember to check out Matthew's how-to videos on our YouTube channel, The Printing Workshop, for additional insights into maximizing your Xerox printer's potential. Don’t let the printing journey stop here! Like and subscribe to stay connected to our amazing community if you’re eager to learn more.
If your printer issue is causing you too much hassle, don’t hesitate to contact us so that one of our trained technicians can help you find an adequate solution.
