 Skip to main content
Welcome back to The Printing Workshop. Today, Matthew will guide you through an important maintenance task for your Xerox VersaLink C7030: replacing the second bias transfer roller (BTR). Whether you're an experienced technician or a DIY enthusiast, this step-by-step guide will help you complete the process smoothly.
Note: This guide can also be used for the Xerox VersaLink C7020 and the Xerox VersaLink C7025 printer models.
For a comprehensive look at the Xerox VersaLink C7030 printer, read our review on its pros, cons, and cost.
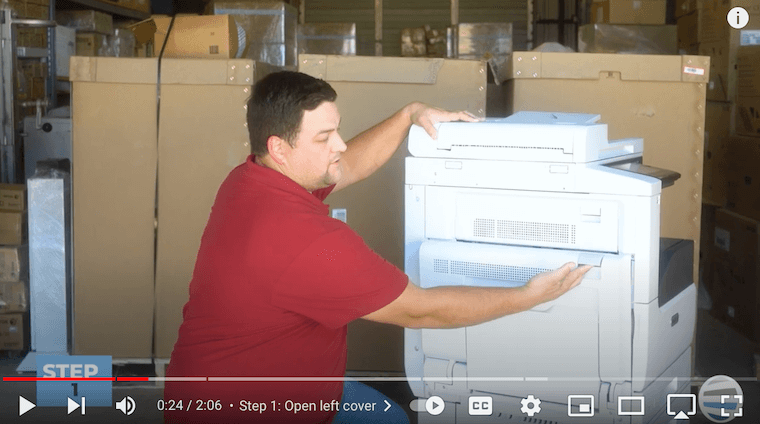
Step 1: Open the Left Cover
To initiate the second bias transfer roller replacement, start by opening the left cover of your Xerox VersaLink C7030. Locate the gray latch on the left side cover and push it up to reveal the internals.
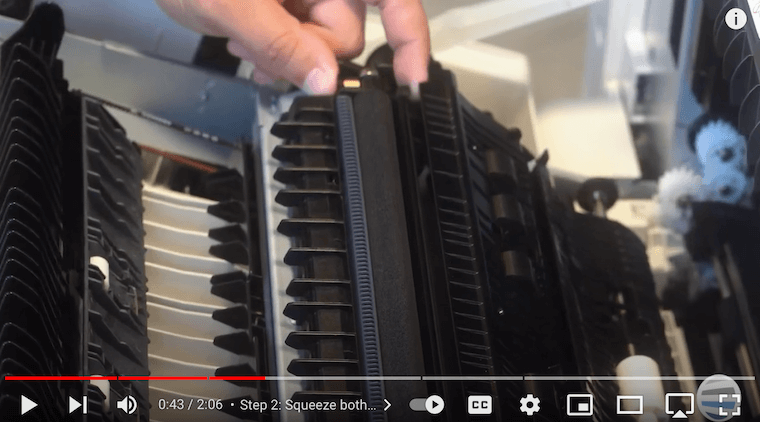
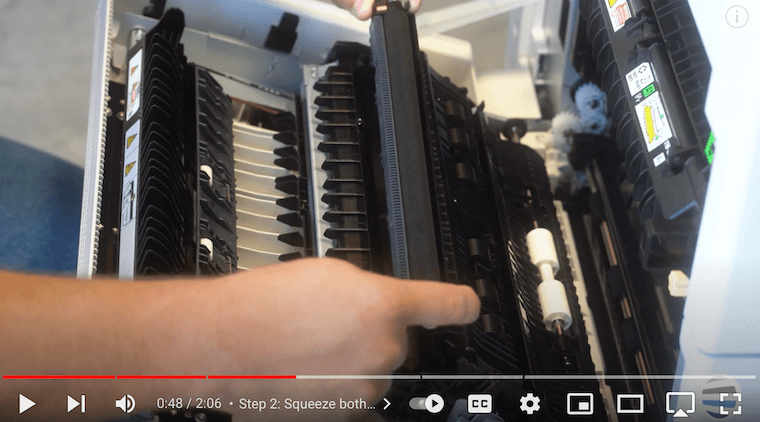
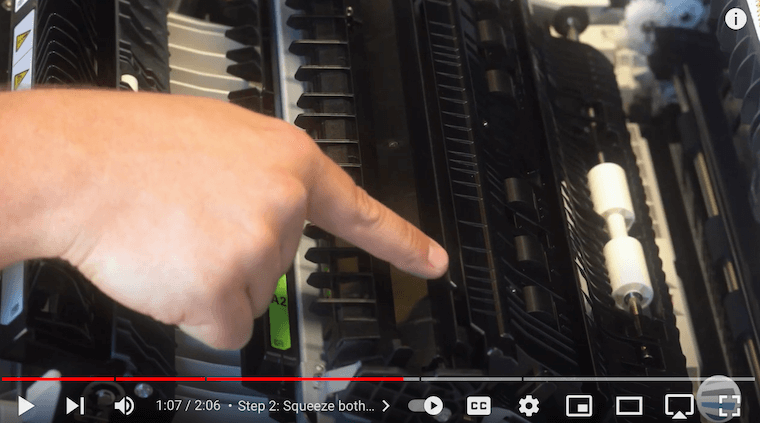
Step 2: Remove the Old BTR
With the left cover open, you'll find the second BTR nestled on the left side cover. Identify the two orange squares on each end of the BTR. Place your thumbs on the black plastic near the orange squares while simultaneously placing your index fingers on the other side of the black clip and squeezing. By doing this, you'll unlatch both ends of the BTR. Pull the old BTR straight up and out of the machine.
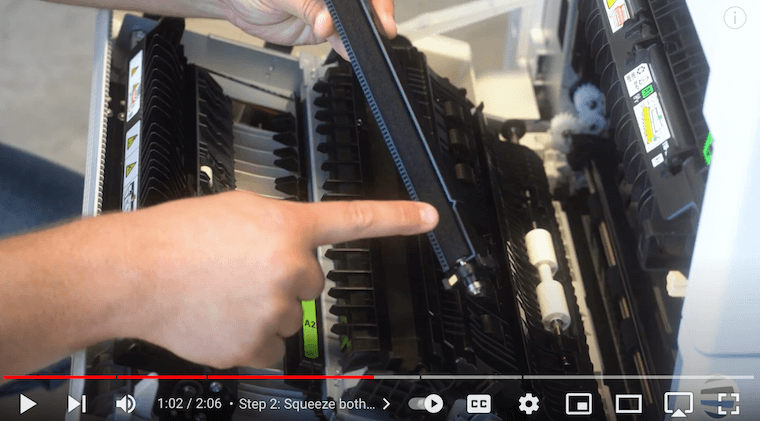
Step 3: Align and Insert the New BTR
The new BTR has a small carrot-shaped protrusion on its plastic, and a corresponding carrot opening is present on the housing where the BTR goes. Align these carrots to ensure the correct orientation. Drop the BTR into place while holding it exactly as you removed the old one. Once aligned, give it a firm push to secure it in its position.
Step 4: Close Left Cover
Now that the new BTR is securely in place, close the left side cover. Ensure that both the front and rear latches properly latch into place. This step ensures that the BTR is securely housed within the printer.
If you’re interested in printer longevity, read our blog on 8 tips to increase the lifespan of your printer/copier.
Print with Confidence: Wrapping Up Your Journey to Seamless Xerox VersaLink C7030 Maintenance
This guide provides you with a comprehensive tutorial on how to replace the second bias transfer roller on your Xerox VersaLink C7030. It is more than just a maintenance guide; it is an investment in your printing experience. Imagine a printing setup that consistently delivers sharp, vibrant results without interruptions. By following the step-by-step process with Matthew, you will learn how to proactively care for your printer, ensuring that it operates at its peak performance.
We understand how crucial it is for you to have a printer that functions well. That's why we're here to help you with the necessary knowledge to make this task less complicated. We empathize with the frustration and inconvenience that a malfunctioning printer can cause, and we want to ensure that you don't have to face such situations. By implementing our suggested techniques, you can save money on possible repairs and ensure that your productivity is not disrupted.
Ready for more printer tips?
If you found this video helpful, subscribe to our YouTube channel The Printing Workshop for more content. We at STPT are committed to providing valuable information and tutorials, ensuring that you can make the most out of your Xerox VersaLink C7030 and other like models.
Remember, regular maintenance is key to ensuring the longevity and optimal performance of your printer. Stay tuned for more insightful videos where Matthew continues to share expertise on various printer models and maintenance tasks.
Thank you for reading, and happy printing!
If you require further assistance with your printer, please don't hesitate to contact us. Our trained technicians will be happy to assist you with any issues you may have.
